A ceiling fan that makes noise whenever it is running would most likely have something wrong with one or more of its components. Various ceiling fan problems are accompanied by different sounds. The type of noise a fan produces is the first pointer on what might be wrong with it.
In this article, I focus on grinding noises. Read on to discover the major reasons ceiling fans produce grinding sounds, how to solve the underlying problem, and how to prevent the issue from reoccurring.

Grinding noises in ceiling fans are caused by unbalanced blades or dry bearings. Unbalanced blades cause the blade mount to press abnormally on the fan assembly, grinding against the other surface as the blades spin. Dry bearings don’t move well and scrape against other surfaces.
Grinding Noises Have Few Causes
The type of noise a fan makes is an indication of what the problem may be. Unlike clicking or rattling sounds, which could be due to a myriad of causes, grinding sounds are mostly produced by the fan motor or blades.
If the noise is from the blades, then it might be a sign that the blades are unbalanced or some blades are not installed properly.
The motor is another possible explanation for the sound, which is produced if the motor is worn or out of lubrication.
1. The Fan Blades Are Unbalanced
What Causes Unbalanced Blades?
Fan blades can become unbalanced due to:
- Loose blades: Over time, the screw(s) that connect the fan blades to the blade holder or motor assembly can become loose. If this happens, the affected blade would droop, making it hang at a different level from the other blades.
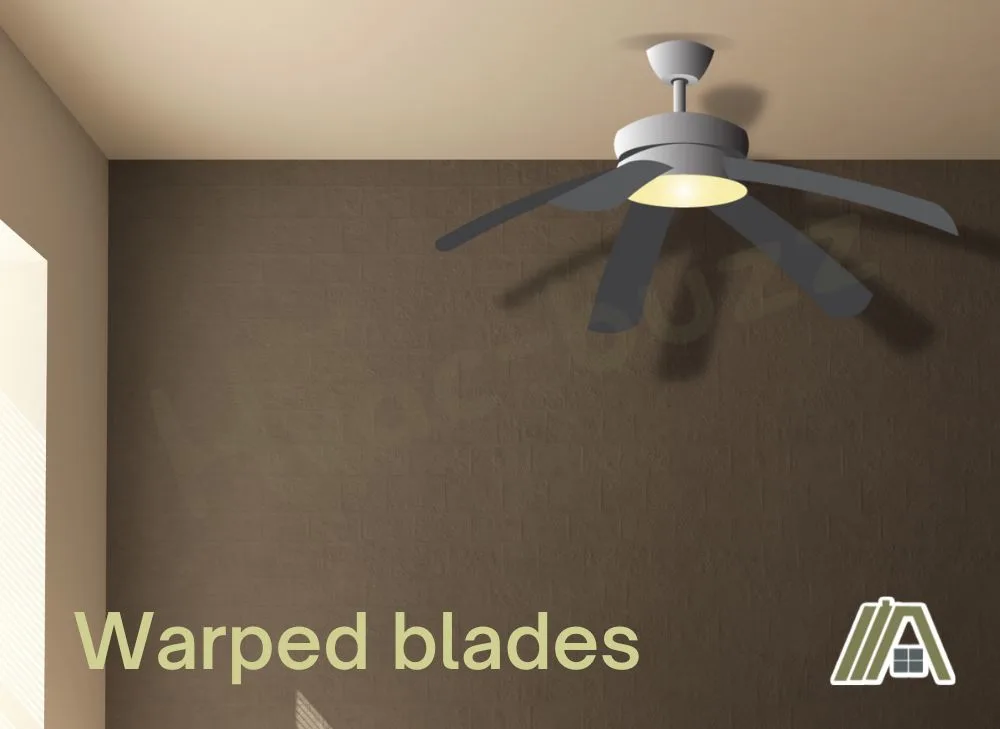
- Warped blades: There are different reasons a fan blade can become warped. It can happen if the blade is manhandled during installation or repairs. It could also occur if you have a habit of hanging things on the blades or pulling the fan blades. Blades can also be warped when exposed to high moisture levels, like incorrect cleaning and rooms with high humidity (bathrooms).

- Damaged blades: Damaged blades (cracked, chipped, scratched, bent, corroded, etc.) shift the fan’s center weight in the opposite direction of the damaged blade(s). It can also cause the blade to sag.
- Improper Installation: Ceiling fans are to be mounted on a fan-rated junction box and the junction box should be attached to a joist. If the fan is mounted on an inappropriate junction box or it isn’t supported by a joist, the fan itself can tilt and the awkward angle of the blades can put uneven stress on the blades.
- Dirt Accumulation: Although it seems unlikely, the accumulation of dust or grime on the surface of a fan blade can add to the weight of the blade and cause it to hang at a different level from the other blades. However, this can only occur if a sizeable amount of dirt sits on the blade.
How Do Unbalanced Blades Elicit a Grinding Noise?
When the blades of a ceiling fan are unbalanced, it puts a strain on the blade holder. The blade holder is what holds the blade in place and connects it to the fan assembly.
The strain caused by unbalanced ceiling fan blades forces the blade holder to twist to the side. When this happens, and you turn on the fan, the holder would rub against the cover plate, which is attached to the motor. Whenever the two surfaces come in contact while the fan spins, it produces a grinding noise.
Solving the Problem
For this section, I am going to provide the solution for each cause discussed earlier:
- Loose blades: This problem is pretty easy to fix. You’d have to inspect the blades for loose screws and whenever you encounter a loose screw, tighten it using a screwdriver. The matter gets more complicated if the screws or screw holes are stripped. In such cases, you would be looking at blade replacement (you have to replace all of them, not just the problematic one) or fan replacement.
- Warped blades: You could inspect the blades for bumps or bends to determine if they are warped. However, this is not the easiest way to check this. Instead, detach the blades from the fan and place them on a flat surface. Gaps or uneven gaps indicate warping. You could try to bend the warped blade back into shape, but most likely, you’d need to replace the blades or the whole fan.
- Damaged blades: To determine if the blades are damaged, you’d have to closely inspect the blades for signs of distress, corrosion, or cracks. Sadly, there isn’t much you can do about a damaged blade, so you’d have to purchase a new set of blades or a new fan.
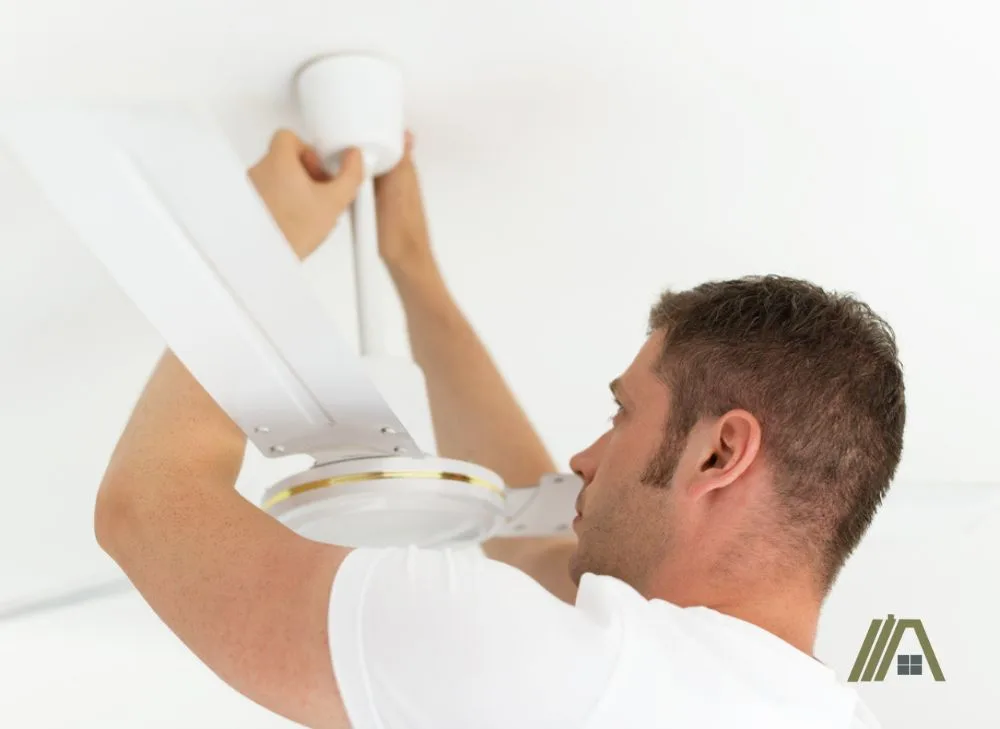
- Improper Installation: First, check that the rod is properly mounted to the holding bracket. If it is, you might have to dismount the fan to inspect the junction box to be sure it is fan-rated. Then check if the box is attached to the joist by wiggling it with your hands. If it moves, it’s probably not secured to the joist. Replace the box with and/or fix it to the joist.

- Dirt Accumulation: This one is very easy to fix. You would have to clean the fan blades using an extendable duster, or a damp rag. Press up against the bottom of the blade as you clean the top, countering the downward pressure to prevent damage.
Use a Fan Blade Balancing Kit
If there doesn’t seem to be anything wrong with your ceiling fan blades but they are still unbalanced, then you can solve the problem using a balancing kit.
Most ceiling fans come with a balancing kit (amazon link) when you purchase them. However, if you do not have one, you can purchase it from your local home improvement store for as low as $3 or online.
The problem with unbalanced blades is that all the blades do not share the same weight. A balancing kit contains a plastic clip and a sticky balancing weight that you can attach to a blade to even out its weight. Here’s how to use it.
- You’d have to first determine the problematic blade. While the fan is off, attach the plastic clip-on to the center of the blade and then switch on the fan and listen for a reduction in sound.
- Repeat the process on different blades until you get to the blade(s) with the most reduction in sound.
- Once you find the blade, move the clip to different points of the blade’s length, allowing the fan to run after attaching it to each point. You are doing this to check for the point of the blade that shows the most improvement.
- Once you’ve located the spot with the most improvement, attach the balancing weight to the center of that spot and remove the clip.
Preventing the Issue From Recurring
Once you’ve fixed your unbalanced ceiling fan blades, the key to preventing them from reoccurring is proper maintenance.
To prevent dust from sitting on ceiling fan blades, clean the fan periodically, preferably once every month.
Over time, humidity causes fan blades to sag and if your fan is installed in a humid location, the blades are likely to become unbalanced again in the future.
So, if there is something you can do to reduce the humidity in the area, that would go a long way in preventing your blades from getting warped or droopy due to humidity. Look into dehumidifiers or ventilation methods.
The weight and pressure from hanging things on the fan’s blades can also cause them to be unbalanced. So, if you hang items on your ceiling fan blades or have someone in your home who has a habit of pulling or hanging on the blades, you should bring an end to such practices.
You should also conduct periodic checks on the fan to be sure that the screws aren’t loose and that the blade and the fan assembly are in good condition.
Unbalanced blades can also elicit a humming sound.
2. Ceiling Fan Motor Bearings Are Dry/Worn
What Causes Dry/Worn Bearings?
Most bearing systems require lubrication to function fluidly and ceiling fan bearings are no exception.
When you purchase a new fan, it comes pre-lubricated and this lubrication can last for a considerable period. However, over time, the lubrication will begin to dry out (leaving the fan off for a period can cause low-speed noises because of this) and if it is not replaced on time, it will dry out completely.
If the fan continues to function with dry bearings, the bearings will start wearing out.
Another reason this can happen is if the bearings are lubricated with the wrong type of oil. Instead of lubricating the bearing, it would clog it and might even damage the fan beyond repair.
How Do Dry/Worn Bearings Elicit a Grinding Noise?
Bearings support axial loads and reduce rotational friction in ceiling fans.
The bearings need lubrication to run smoothly, and when they are dry, they would have a hard time spinning. If this is the case, the fan might release grinding sounds as the bearing rotates.

Additionally, the bearing might start to rub against the motor housing, and the friction between the two surfaces as the fan runs would create grinding noises.
Dry bearings are bound to release grinding noises because they cannot operate quietly if they aren’t properly lubricated.
Solving the Problem
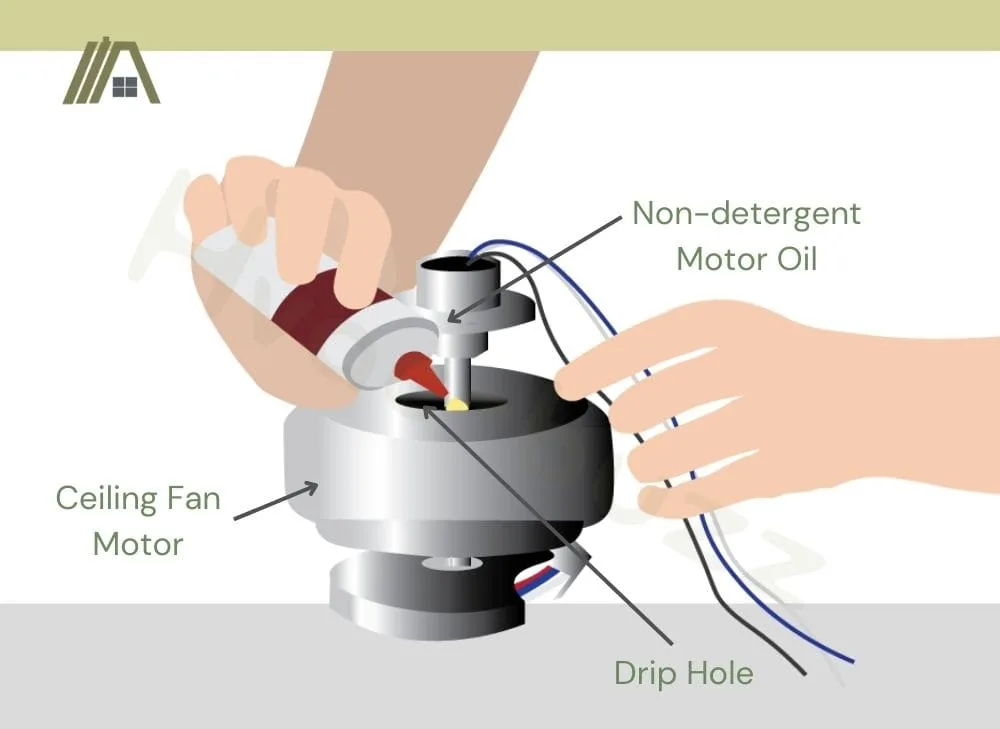
From previous sections, the solution to dry or worn fan bearings is pretty obvious. You would have to oil the fan using non-detergent motor oil that has a weight of either 10, 15, or 20.
How you apply the oil would ultimately depend on your fan type.
Lubricating an Older Ceiling Fan
Older fans are designed in a way that allows you to easily re-lubricate the fan. They usually feature a port at the top of the motor, through which you can pour oil into the bearing.
To lubricate the bearings, get a non-detergent motor oil (amazon link). If the bottle doesn’t have a nozzle, you can pour the oil into a small applicator bottle and then use it to pour the oil into the fan.
Once you’ve added oil to the bearing, switch on the fan and run it at the normal speed. As the fan spins, the bearings will lubricate themselves.
Lubricating a Newer Ceiling Fan
Newer ceiling fan models do not feature a port for applying oil. This is probably because they have their bearings encased in a housing filled with lubricating oil so that they automatically self-lubricate as the bearings rotate. However, the oil would eventually dry out after prolonged use.
- To lubricate a newer fan, you would have to disassemble the fan.
- After that, unscrew the motor housing.
- Add three or four drops of lubricating oil to the hole at the top and bottom of the motor.
- After applying the oil on each side, spin the motor back and forth so that the oil is sucked into the bearings.
If you are unable to do it yourself, getting a new unit might cost less than hiring an electrician, depending on the fan’s model.
Preventing the Issue From Recurring
The key to preventing your ceiling fan bearings from getting worn or dry is to ensure that they stay lubricated. It is recommended that you re-lubricate the bearings at least once or twice every year.
Conduct routine checks on the fan to ensure that everything is working perfectly. You can check the oil level in the fan by inserting a pipe cleaner about 1/2 into the oil hole. If it comes out dry or barely has oil on it, then you need to oil the fan.
Additionally, ensure that you use only manufacturer-recommended oils to lubricate the bearings. Using the wrong oil wouldn’t produce the desired result. Instead, it would cause damage to the fan’s motor.
Sources
https://www.hvac.com/troubleshooting/ceiling-fan-making-noise/#
https://www.thespruce.com/eliminating-ceiling-fan-noise-1152644
https://www.familyhandyman.com/article/ceiling-fan-making-noise/
https://www.hunker.com/13401774/what-to-do-about-noisy-bearings-in-a-ceiling-fan


