The bathroom exhaust fan is an essential part of the home ventilation system. It ensures that moisture doesn’t build up in the bathroom, preventing mold from becoming established. It also helps you to get rid of potentially dangerous fumes from cleaning products.
However, over time, you might notice that the bathroom fan is becoming louder, sometimes making unpleasant squeaking noises.
The most common reasons why bathroom fans get noisy are:
- There is a build-up of dust and debris in the fan
- The fan has come loose in the housing
- The fan might be out-of-alignment, causing it to hit the housing as it turns
- The fan hasn’t been lubricated properly
- You are living in an apartment complex
- The fan motor needs to be replaced
As you can see, there are several reasons why your bathroom fan might be making an unpleasant noise. Thankfully, most of them can be corrected quite easily.
Why Do Bathroom Fans Get Noisy?
There are many possible reasons why your bathroom fan might be noisy. In some cases, it might be because the fan needs to be maintained. If this is the case, there are some things you can try, in order to make the fan quieter. We will discuss all of them in the following paragraphs.
To decide why your fan is making so much noise, you should think about when your fan started to make the noise. If it was quiet when you first purchased it, and only started to become loud recently, the noise is likely because of a maintenance problem.
However, if the fan was noisy when it was first installed, it’s likely because of the way the fan was made. In this case, the only way to solve the problem is by installing a new model.
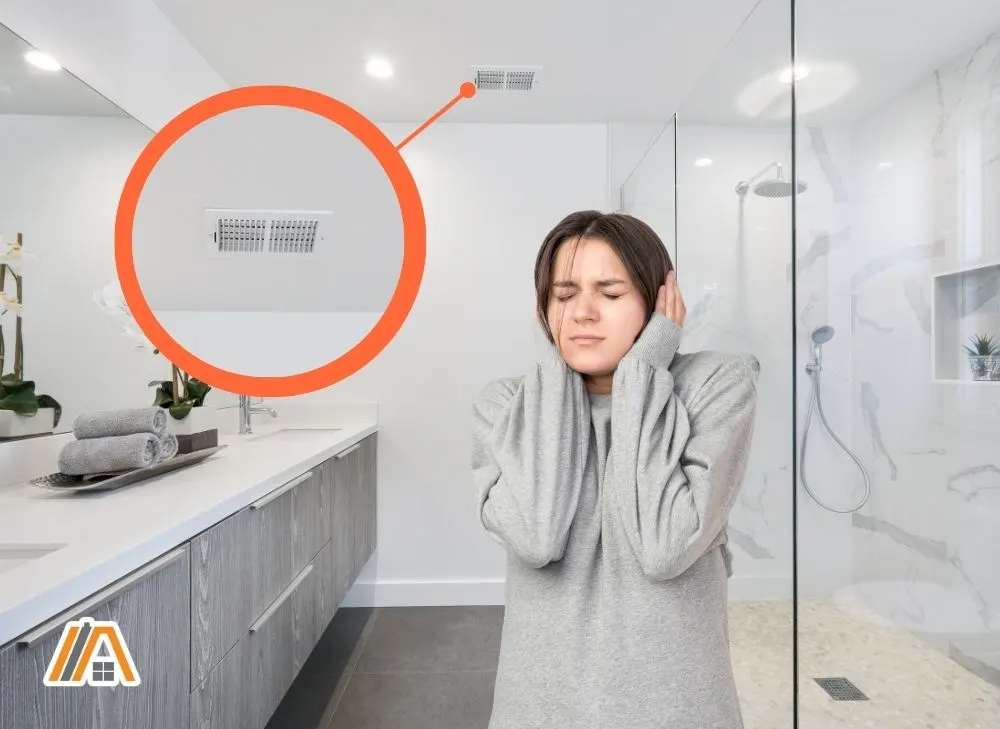
If the fan was noisy when it was first installed, it’s likely because of the way the fan was made.
Are Bathroom Fans Supposed to Be Loud?
As a general rule, a bathroom fan should not be loud. Most modern bathroom fans make so little noise that most people won’t even notice that they are turned on. Old bathroom fans can be loud either because of wear and tear or poor design.
Today there are affordable bathroom fans(amazon link) that produce no more than 0.3 sones.
Also, keep in mind that a bathroom fans’ noise will increase with capacity. A higher CFM normally means a louder fan.
By slowing down the bathroom fan you can significantly reduce the noise level on even the loudest fans. Read my article about how to slow down a bathroom fan if you wish to learn more.
Why Are Some Fans Louder Than Others?
If you’re shopping for a new bathroom fan, you should be aware that some will be considerably louder than others. One of the most important elements that determine how loud the fan will be is the quality of the fan’s construction. However, the size of the duct might influence how loud it will be.
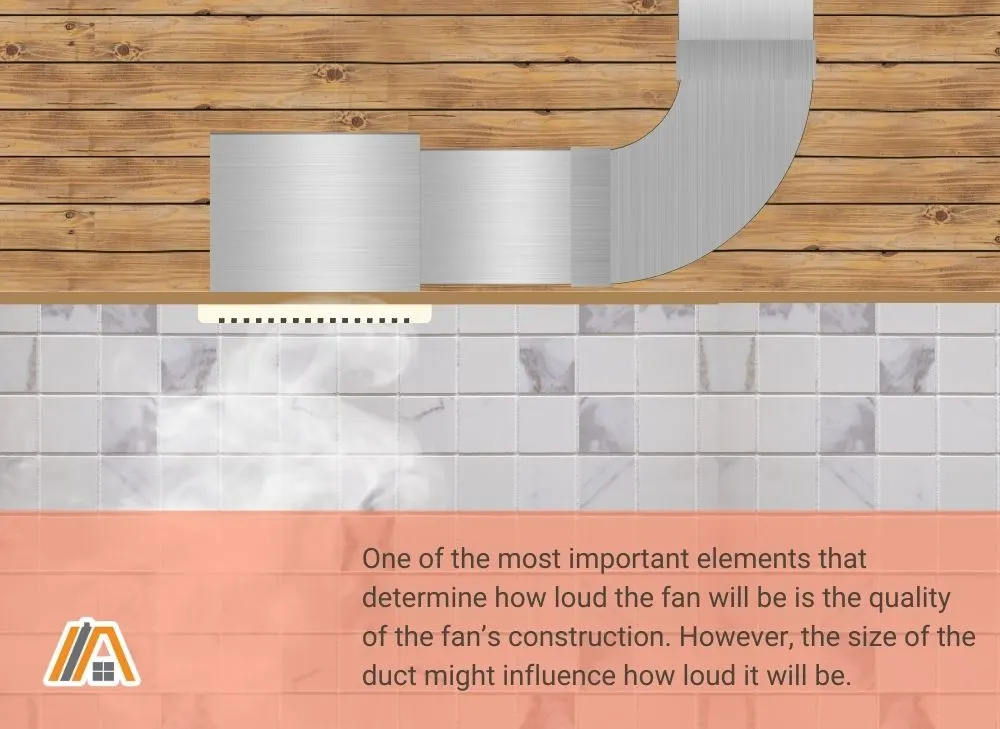
Fan Construction
The types of materials used to make the fan are some of the most important elements that affect how much noise the fan will make once installed. Cheaper materials will be more susceptible to rattling from the vibration of the fan.
Also, cheaper materials will break more easily. This will force you to replace the fan more frequently. On cheaper bathroom fans the fan blades are not balanced very well, this causes vibrations and can be the cause of excess noise.
I have a list of 8 super quiet bathroom fans. They are truly the quietest on the market today and I will keep this list updated.
Duct Size
Another element that can impact on how loud the fan will be is the size of the duct. When the air gets sucked through the duct, it will make a noise.
As a general rule, the smaller the duct, the louder the fan will be. I have explained this in more detail in my post about how bathroom fans are rated.
How Can I Find How Loud The Fan Will Be?
Before you purchase the fan, you can estimate how loud it will be. The fan manufacturer will need to list the expected volume of the fan on the packaging. This will be in sones (the standard unit of fan loudness rating). The more sones, the louder the fan will be in operation.
Most bathroom fans will be around 1.5 to 4 sones, when in operation, but there are some available on the market that rate at about 0.3 sones. You should be able to find how loud the fan is expected to be by looking at the product specifications.

Most people, including myself, are more familiar with sound being measured in decibels, so saying a fan is rated at 0.3 sones, does not mean much.
However, if you use my Sone to Decibel calculator, you can see that 0.3 sones is about 22 decibels, and according to this chart from The American Academy of Audiology, rusling leaves are only about 20 decibels. Thus 0.3 sones is very quiet.
When you’re choosing a fan, you need to make sure that it will be powerful enough to remove the air from the room properly. However keep in mind, a larger fan makes more noise.
I recently wrote an article about sone ratings. Check it out if you want to learn more.
What Does My Fan Noise Mean?
When you notice your fan is making a loud noise, you should make sure to listen to it closely. In general, the noise can help you to identify what the problem might be.
For example:
- Rattling: you might need to tighten up the screws and housing.
- Knocking: you might need to re-adjust the fan.
- Grinding: the casing might be full of dirt and needs to be cleaned.
- Squeaking: you might need to lubricate the fan.
- Hearing noises, even when the fan is off: the duct might be connected to other bathrooms. This is most common in an apartment building.
- High-pitched whining: the motor might need to be replaced.
- Buzzing or humming: there are multiple reasons for this and I have written a whole article on why bathroom fans buzz/hum.
By paying attention to these signs, you’ll be able to find the potential cause of the problem. This can make it easier for you to come up with a solution.
If after listening to the noise, you still can’t pinpoint the problem, you might need to troubleshoot. This means going through each of the possible reasons, trying to solve the problem, then re-testing the fan. By doing this, you should be able to find and solve the issue eventually.
If you hear a banging noise and only when it is windy outside it might be the backdraft damper that is making the noise. Check out my article about why bathroom fans make noise when windy to learn more about fixing this problem.
How To Clean My Bathroom Fan?
One of the most common reasons why you might be having problems with your bathroom fan is because it has been clogged with dirt and debris.
To fix this, you’ll need to remove the bathroom vent cover. Then, you’ll need to carefully clean out all the interior components. When ready, put the vent back on and test the fan. The noise should be gone.
If your fan has been making a suspicious noise, you should try cleaning it. Often, the fan can suck up dirt and debris, which ends up clogging the device. As a result, they will require more energy to suck the air from the room, causing them to be noisier.
Cleaning the Vent Cover
1. Remove The Vent Cover
The first step is to remove the vent cover from the fan. To do this, you will need to first pull down gently on the vent cover. In most cases, this will allow you to see the metal clips, which keep the fan in place.
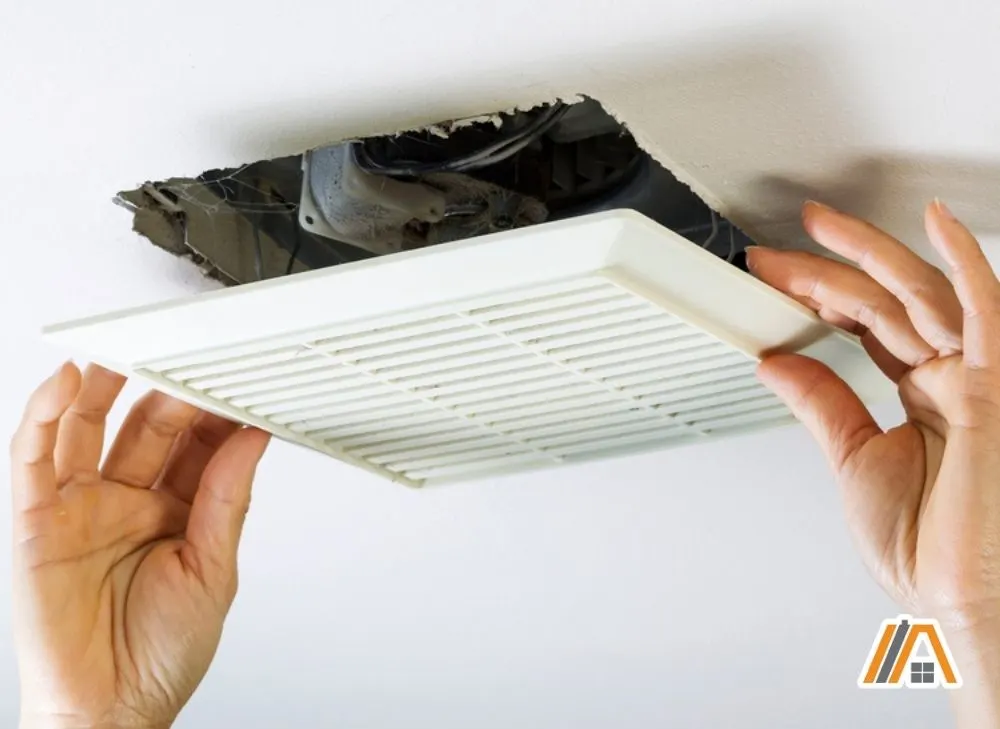
You’ll need to squeeze the clips. This will release the pressure on the vent cover, and allow you to remove it. In some cases, you might need to unscrew the vent to remove it properly.
Once the cover is off, you’ll be able to see the interior workings of the fan.
2. Clean the Bathroom Fan Vent Cover
Once removed, you’ll need to clean the vent. This can be done using soap and water.
Start by leaving the vent in the sink with warm water and soap to soak. Then, after a few minutes, remove it. You can finish cleaning by scrubbing with a soft sponge.
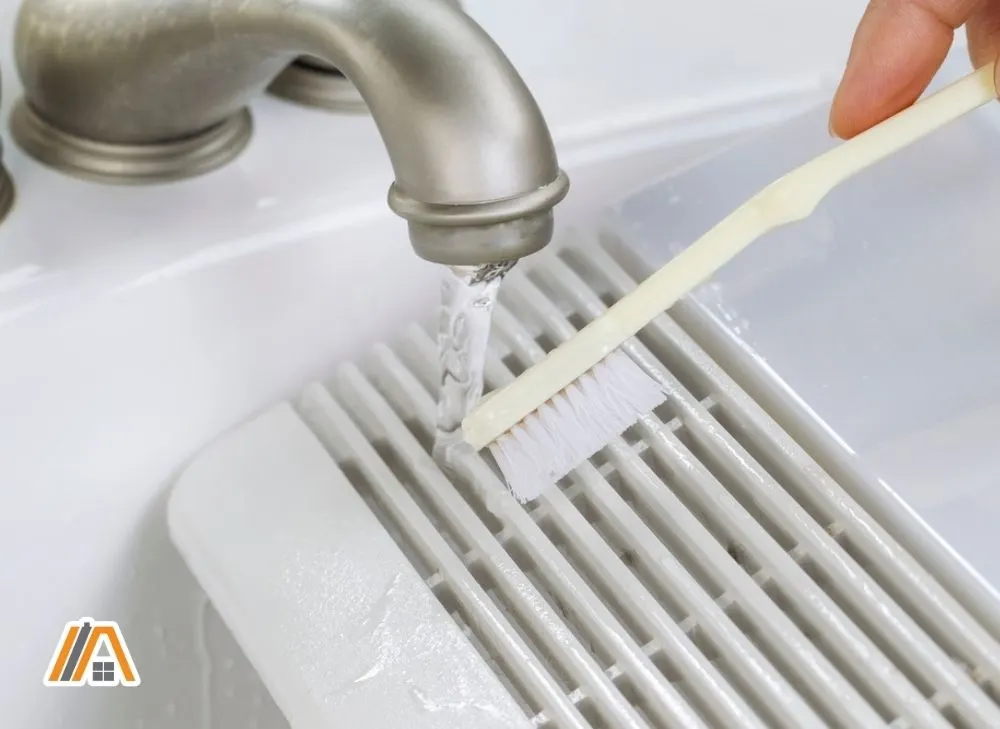
In most cases, this process will allow you to remove all the dirt from the vent cover. However, if the dirt is lodged onto the vent, you might want to use a soft-bristled brush to get rid of it.
3. Dry and Replace
Once all the dirt has been removed, you can leave it to air dry, on a towel. You shouldn’t put it back in the fan until it’s been completely dried. This will ensure that there’s no chance that the vent will grow mold and bacteria.
Turn on the power and the fan and see if that did the trick!
Clean the Interior of the Bathroom Fan
When working on the interior of the fan, you need to make sure that you are being delicate. You don’t want to accidentally damage any of the components.
- You’ll need to turn off power to the bathroom.
- Use a vacuum to safely suck up all the dirt. Use the brush attachment as the thinner head will be able to fit into any nooks and crannies, sucking out as much dirt as possible.
- Use a microfiber cloth to remove any extra dirt and grime. Make sure that you are going through each part of the fan, trying to remove as much grime as possible.
Disassembling the Fan for a Deeper Clean
In some cases, it might be best to disassemble the fan. This will allow you to remove all the built-up dirt.
You can do this by unscrewing any exposed screws, carefully removing each of the components, and wiping with the microfiber cloth.
Never clean the fan under running water!
When you have finished, you can re-assemble the fan. Then, place the vent cover back onto the fan by putting the metal clips back into their place and gently applying pressure to the vent.
Finally, turn on the power and re-test the fan. Hopefully, the fan is now quiet!
How Often Should I Clean My Bathroom Fan?
Fan sucks up dirt and grime and so these will always be building up inside the fan. Because of this, it’s recommended that you clean your bathroom fan every six months.
It’s recommended that you clean your bathroom fan every six months.
By cleaning your fan regularly, you will be able to prevent the debris from clogging the fan and making an unpleasant noise. It will also give you a chance to inspect the inside of the fan, so you will be able to spot which elements need to be replaced.
How To Tighten My Bathroom Fan?
One of the easiest problems to correct is a fan that is loose in the housing.
You simply take a screwdriver and tighten up all the screws. Be sure that the power is turned off before you do this!
But why are the screws loose? Well, as the fan spins, it can sometimes cause small vibrations. Over a long period, the vibrations can loosen the screws in the fan’s housing.
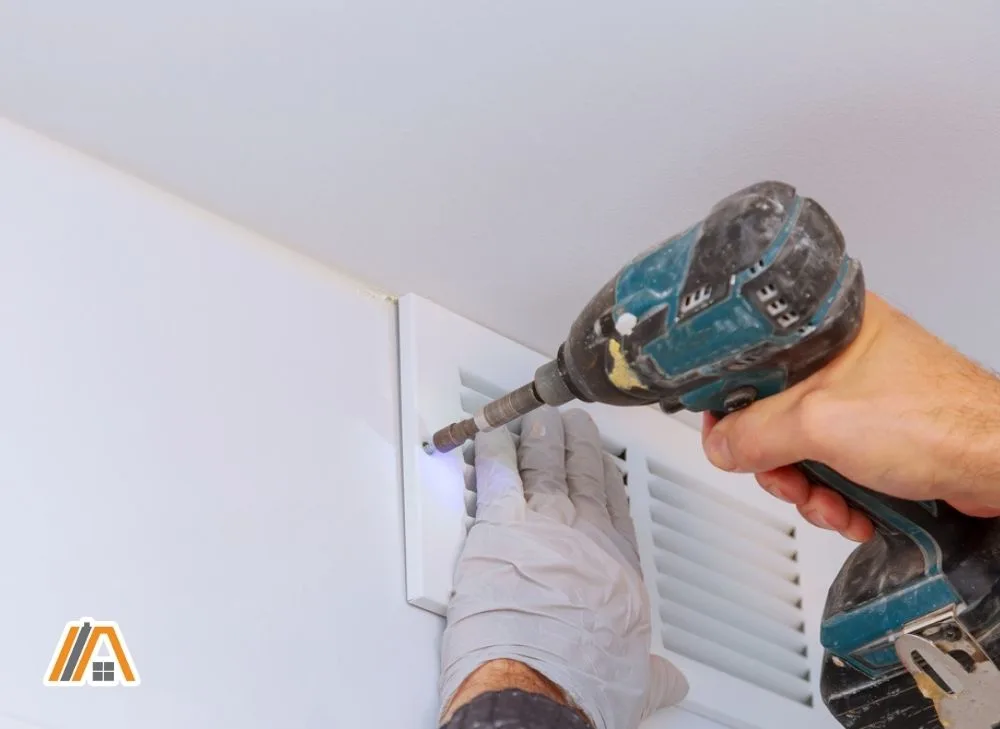
As the screws become looser, the noise will become louder.
In most cases, if your fan is making a rattling or vibrating noise, the screws will need to be tightened up. Thankfully, this is a fairly simple job.
How To Adjust My Bathroom Fan?
In some cases, your fan might be knocking against the housing. When this happens, you’ll need to adjust the fan.
To adjust the fan, take off the vent cover. Then, check the housing around the fan. In some cases, you might need to unscrew the fan, place it in the right position, then screw everything back in.
Over time, it’s normal for the fan to start to come out of its alignment. When this occurs, it can start knocking against the side of the housing.
If not spotted and corrected early, this can lead to serious damage. In some cases, you might need to replace the fan entirely.
To correct the issue, you’ll have to remove the vent cover. This will allow you to see the internal elements of the fan. We discussed how to do this earlier.
Once inside, if possible, give the fan a spin; this will let you observe its current alignment. If it’s knocking against the side of the housing, you will need to correct the problem.
Before you do any more work, turn off the power to the bathroom. This will ensure that you don’t accidentally electrocute yourself, or damage any of the internal components.
You’ll need to carefully remove the fan from the housing. Then, place it back inside, keeping everything straight. Gently tighten the screws, before pushing on the blades with your finger. If the fan doesn’t hit the sides, tighten the screws up.
How To Lubricate My Bathroom Fan?
Another common reason why bathroom fans experience problems is that they haven’t been lubricated properly.
To lubricate your fan, you will need to first remove the vent cover and remove the fan from its housing. Then, you will be able to apply the lubricant and test the fan, making sure that it spins freely. Once done, you can place the fan back into its housing.

If the fan hasn’t been lubricated properly, it might require more energy to keep spinning properly. The extra strain on the motor might make it louder. It might also cause the fan to produce a squeaking noise.
Thankfully, it’s fairly easy to lubricate the bathroom fan, as long as you follow the instructions below.
Preparing The Fan
Before you can apply the lubricant, you’ll need to make sure that you’ve prepared the fan properly. First, you will need to turn off the power to the bathroom. This will ensure that you don’t accidentally electrocute yourself, or damage one of the internal components.
Then, you’ll be able to remove the vent from its housing. As we mentioned earlier, you’ll often have to unscrew the vent, or gently squeeze it off its metal track.
If you haven’t already, make sure to clean your fan as described above. This will make sure that the lubrication works effectively.
Finally, you will need to remove the fan. To do this, you’ll need to unscrew the fan, removing it from the brackets that hold it in place.
When removing the fan, you’ll also need to take out the wires; most bathroom fans are hardwired. When replacing only the motor, you could be lucky and there could be a plug that will make your life much easier.
When it is hardwired, you might want to take a few pictures. This will let you make sure that you put them back in the right place.
How To Apply Lubrication To The Fan?
First, you need to find the shaft of the fan. This is the part of the fan that connects the spinning blades to the motor.
Then, rub the lubricant onto the shaft and give it a few spins, to make sure that it’s working properly. There are many types of lubricants that you might want to use. One of the most popular is WD40 (amazon link). However, you can use any type of industrial lubricant.

As you are applying the lubricant, make sure to stop it dripping into the motor, wiping the excess up with a cloth. This will help protect the electronics from damage.
Finally, you will need to put the fan back into its bracket. As you do this, make sure to give it a little spin. This will allow you to make sure that it’s not caught on anything.
When you’re finished lubricating the fan, turn on the power and try it out. There should be a considerable improvement if the problem was insufficient lubrication.
Why Is My Fan So Loud When I Live In An Apartment Complex?
Another possible reason why your bathroom fan is so loud is that you are living in an apartment complex. In some cases, all the bathroom fans might be connected to the same exhaust ducts. Because of this, you’ll be able to hear when your neighbors are using their exhaust fans. To test this, leave the fan off, and see if it still makes the noise.
If the whole apartment is using the same exhaust ducts, every time someone turns on their fan, the noise will travel to every apartment in the building. In most cases, you’ll just hear a low buzzing, even when your fan isn’t on.
If this is the case, unfortunately, there isn’t much that you can do about the situation. To completely solve the problem would mean giving each bathroom its own duct. This would be very expensive, costing thousands of dollars.
Instead, you’ll need to focus on ways to suppress the noise when it comes to your bathroom. We’ll discuss how to do this in the next section.
What Are Some Other Ways Of Making My Bathroom Fan Quieter?
If you’re still struggling with the noise made by your fan, there are some other possible solutions that you can try.
For example, you might want to try placing some rubber where the fan unit meets the ceiling. Or you can try making the duct shaft shorter.
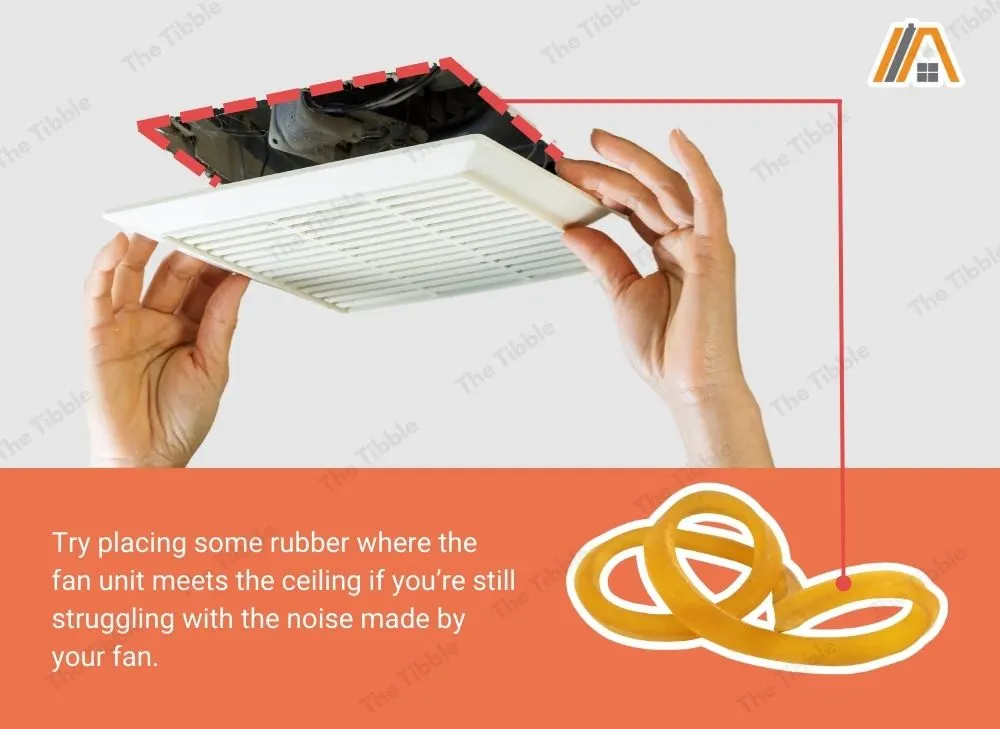
Though these techniques will require more work, they will provide a more permanent solution to the problem. By doing this, you should be able to greatly reduce the amount of noise that the bathroom fan is making.
How Can I Insulate My Bathroom Fan?
To insulate your fan, place a thin strip of sound-absorbing rubber along the top of the unit, where the fan meets the ceiling. This will reduce the sound vibrations and should make the unit quieter.
When the bathroom fan is working, it produces small vibrations. This could be why it’s so loud when you turn it on. Placing rubber along the top of the unit will help absorb these vibrations, making it quieter.
To do this:
- Purchase some thin, sound-absorbing rubber. You should be able to find this in most hardware stores.
- Turn off the power to the bathroom, so you don’t accidentally hurt yourself.
- Remove the bathroom fan unit from the ceiling. In most cases, you should be able to do this with a screwdriver. However, if you’ve chosen a big unit, you might want to get a friend over to help you lift it from the ceiling.
- If you need to undo any wires, take a picture, so you know where to connect them later.
- Measure and cut the rubber.
- Place this between the drywall and the fan housing. You should be able to stick the rubber to the ceiling with some glue, to hold it in place.
- Reattach the fan unit.
Why Should I Make My Bathroom Duct Shorter?
The longer your bathroom duct, the more air pressure the fan will need to exert to remove the air from the room. This also occurs if you have a lot of twists and bends in the duct. Because of this, it will place more strain on the motor, causing it to make a louder noise.
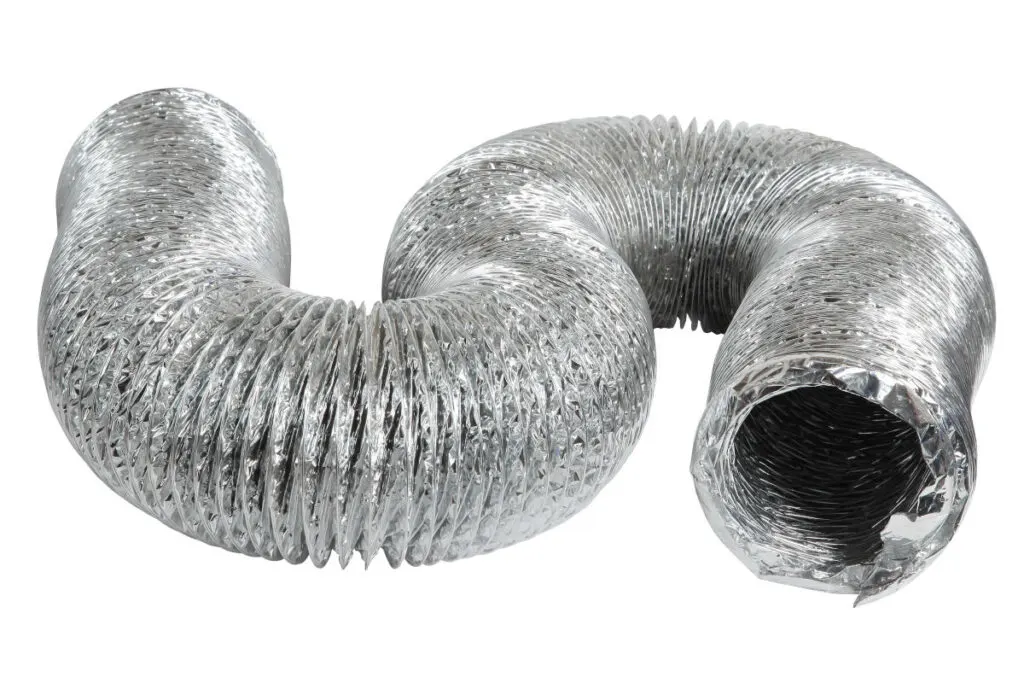
Though this often isn’t the primary reason why your bathroom fan is so noisy, it can be a contributing factor. By straightening out the duct, and reducing the pressure on the motor, your fan should become quieter.
This will often be a more difficult job. Because of this, you might want to call in professional help, to make sure that everything has been done properly.
How Do I Know If I Need To Replace My Bathroom Fan?
There are a few signs that you need to replace the bathroom fan.
The most common reason why you need to replace the bathroom fan is that the motor is no longer working properly. You’ll notice this because the fan will make a grinding, or whining sound.
However, keep in mind you do not have to replace the whole unit. In most cases, you can just replace the motor. When you hear the motor start whining, and nothing else appears to be wrong with the fan, the motor might need to be replaced. The worse the whining becomes, the more important replacing the motor will become.
Keep in mind you do not have to replace the whole unit. In most cases, you can just replace the motor.
Another possible sign that you might need to replace the fan is if there’s still moisture around the bathroom. This shows that it can no longer suck the air out of the room properly.
In my article about how long bathroom fans last, we discussed that it can last around 10 years before you’ll need to get a new model!
Depending on the model, you might be able to place a new motor into the existing fan or install a completely new fan. If you do need to install a new model, it’s best to leave it to the professionals. This will give you the confidence that everything has been done properly.
Related Questions
- Does a bathroom fan help remove odors? While they were primarily designed to remove moisture from the room, they can also be effective at removing unpleasant odors.
- How long should I leave the bathroom fan on for? It’s estimated that you should leave the fan on for at least 20 minutes after you get out of the shower. This will ensure that all the moisture can be sucked from the room.
- Why is my bathroom fan slowing down? When in operation, your bathroom fan should be spinning at a consistent speed. If it’s not, this is due to an issue with the motor, as the fan isn’t able to get enough power to spin properly. If you spot this, you’ll need to replace the motor.
Final Thoughts
There are plenty of reasons why your bathroom fan might be noisy. Some of the most common reasons include; dirt and debris have built up inside the fan, the fan shaft needs to be lubricated, the fan has come out of alignment, or the screws have come loose. In some cases, you might need to replace the motor. By using this troubleshooting guide, you should be able to spot the problem and be able to fix it.


