We know wood and water are not a good combination. This is especially pertinent for the wooden ceiling structures above moisture-generating or moisture-prone rooms, like bathrooms. To protect your home from structural water damage, you need to use waterproofing in the appropriate location, or you are going to encounter problems.
It seems convenient and unintrusive to be able to put waterproofing on the attic side of the ceiling. It’s also easier to work on the floor than above your head on the ceiling. Unfortunately, the attic side is a no-go for waterproofing.


Waterproofing must be used between the ceiling backboard and the ceiling materials in the room where the moisture is coming from. Using waterproofing membranes on the attic side will result in moisture getting into and staying trapped in the ceiling structures causing several problems.
Don’t Put Waterproofing on the Attic Side
While some people may suggest putting sheets of waterproofing on the attic side to waterproof the room below, this is not a sound practice. Instead, you need to put the waterproofing inside the room where the moisture is being generated or where the moisture exists.

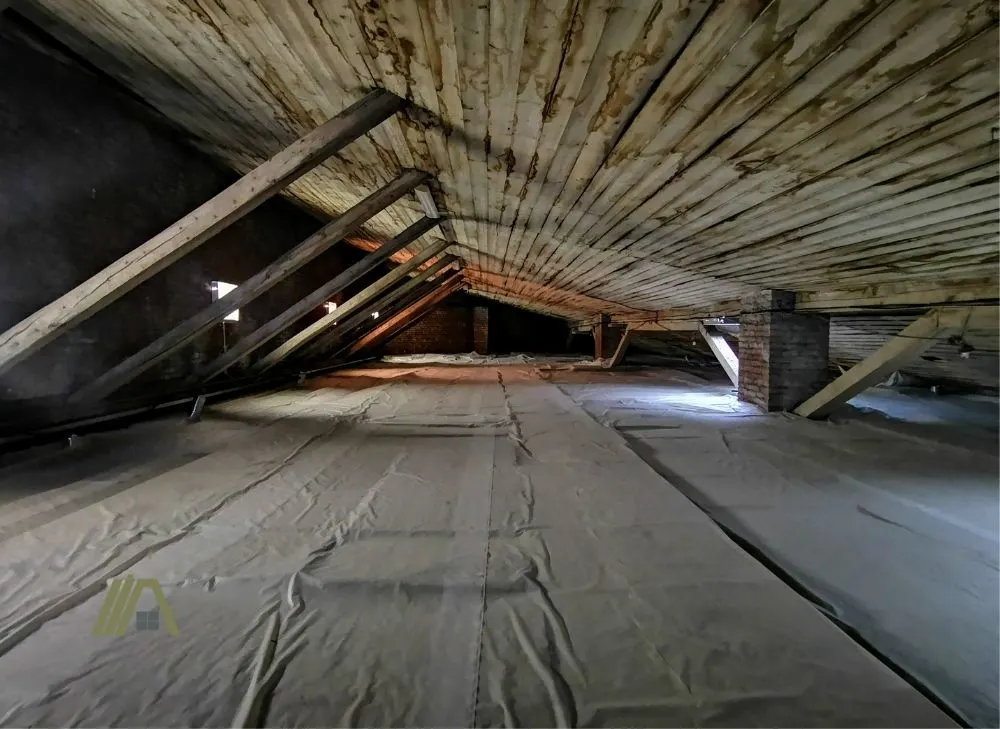
If you were to lay waterproofing down over the attic “floor”, you would be protecting the attic from moisture emanating from the room below, not protecting the ceiling of that room.
Moisture Will Be Trapped in the Construction
The reason why waterproofing the attic side of a ceiling is not recommended is because by doing so, you trap moisture in the ceiling itself. The waterproofing is meant to protect the construction, but when used incorrectly, it can become damaging.
Water can pass through ceiling material, even waterproof ones. The joins between these materials are typically not waterproof. For example, even if tiles are waterproof, the grout between them is not, and this is why you need a waterproof membrane behind them.
The vast quantities of moisture produced in rooms like bathrooms will penetrate the ceiling structure, which is already damaging, but then will not be able to escape from the attic. The moisture will then remain in the structures and cause further harm.
Results of Trapped Moisture
If you have waterproofing on the attic side, you will likely notice the water stains first. These brown and yellow patches on the ceiling are a sign of water damage resulting from trapped moisture.
The stains are only one part of water damage, though. This trapped moisture will promote the growth of mold and mildew, which thrives in moist and humid environments (like bathrooms). You will likely notice it along the roof first, but this can spread to the walls and flooring.
Water damage can also manifest as peeling and discoloring paint and wallpaper. So, in addition to the watermarks and stains, you now have unsightly wall and ceiling finishes.
If you notice water damage, you need to get it fixed as soon as possible. If you notice your ceiling is sagging and cracking, I recommend you call a professional immediately! When the wood in your ceiling is consistently exposed to moisture, it can start to rot, and rotting wood puts you at risk of a cave-in.
This is not only dangerous for anyone in the room, but it can also lead to significant damage to the walls, floor, furniture, and finishes in the room.
Correct Location of Waterproofing
Waterproofing should be installed between the backboard and ceiling materials of the room where the moisture is coming from. If this is a bathroom, for example, then the waterproofing must go on the backboard of the bathroom ceiling. In this location, the membrane will keep water from seeping into the structure of your ceiling and attic.
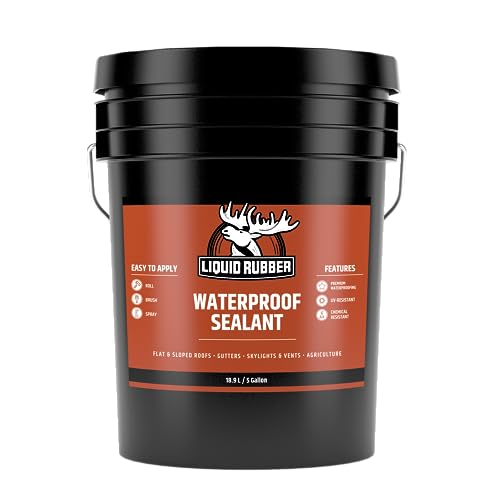
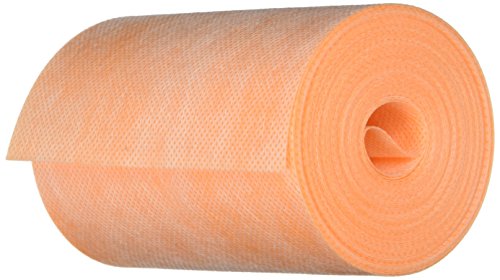
Liquid-type or sheet-type waterproofing are the best choices for use on your ceiling, and both are installed in the same location as mentioned above. Liquid waterproofing (most commonly, polyurethane) is applied in several layers like paint, while the alternative is a set of self-adhering sheets that you lay down.
You will need to give the waterproofing layer time to dry completely. This differs according to the products you use, weather conditions, and the type of surface it is on, but you can allocate an estimate of 24 hours for both kinds before applying your ceiling material or painting.
- PROTECTIVE FINISH FOR - Flat roofs, metal roofs, sloped roofs, planter boxes, foundations, sheds, basements, metal, wood, concrete and more
- HIGHLY FLEXIBLE & DURABLE - Final membrane has over 1000% elongation preventing adhesion failure, and is UV Stable stopping the sun from degrading the product
- COVERAGE - Vertical Surfaces - 1 gallon/30 sq ft (2.8 sq m). 3-4 heavy coats to achieve a 30 mil (0.76 mm) membrane. Flat/Ponding Surfaces - 1 gallon/15 sq ft (1.4 sq m). 4-5 heavy coats to achieve a...
- ENVIRONMENTALLY FRIENDLY - Liquid Rubber Waterproof Sealant is water based, containing no solvents, VOC's or harmful odors. Safe for humans and pets alike, can be used indoors and outdoors with no...
- Ensures a fully water-tight seal preventing leaks
- Ensures a fully water-tight seal preventing leaks
- Ensures a fully water-tight seal preventing leaks
- Sticks tightly to inside and outside corners without rounding at surface transitions
Last update on 2024-03-28 / Affiliate links / Images from Amazon Product Advertising API
n your ceiling structures. The primary purpose of a vapor barrier is different, and so it is installed differently from a waterproofing membrane.
Sources
https://hollisterroofing.com/2012/12/ceiling-roof-water-damage-5-signs-need-watch/