Bathroom fans are great ways to avoid water damage in homes and, in most cases, remain code compliant. They do so by providing a simple escape for hot, moisture-filled bathroom air to the outside. Unfortunately, this direct pathway has the potential to work in the opposite direction.
If the bathroom fan’s termination vent malfunctions, it allows rain to seep into the duct, from where it can drip out of the internal vent into the bathroom. Luckily, there are ways to get to the root of the problem, and many of them are easy fixes that you can easily do yourself.


Bathroom fan vents drip when it rains if there is damage to the roof vent hood and/or flashing. Broken backdraft dampers make it worse. Hood and damper seals can be replaced. Small holes in the flashing can be patched. If there’s any other or more extreme damage, replace the hood, flashing, and/or damper.
Damaged Vent Hoods Can Allow Rain Into Ducts
If your bathroom vent drips whenever it rains, it could be that your vent hood is damaged. For instance, it could have cracks or breaks. In addition, it is also possible that the seal on the vent has degraded.
Bathroom fans are typically set up vertically. This is because hot air rises, so having a vertical path allows hot air from a shower to escape. However, this means that anything entering from the top of the vent system has a clear way down as well.
Therefore, if there were damage to the vent hood, such as a crack, rainwater would be able to enter the duct and slide down to the bathroom, which would cause the vent to drip water whenever it rained.
Melted snow can also get into the ducts this way, which is one of the reasons why bathroom fans drip in cold weather.
What Causes Damage to Vent Hoods?
There are a couple of factors that could cause damage to vent hoods. For instance, sun exposure could degrade plastic covers. Therefore, an old plastic cover that sits in the sun would begin to let water in.
Other outside factors can cause damage as well, such as wind and falling debris. Harsh winds are able to corrode vent covers and create leaks. On the other hand, debris is able to cause dents and other damage.
Rain itself can erode parts of the vent hood, and snow can build up and break parts due to the weight of this buildup.
Another reason water would be able to seep through a vent would be if the vent hood was faulty in the first place. In addition, the vent hood could have also been installed incorrectly, leading to cracks.
Repairing Vent Hoods
In most cases, if there is damage to the vent hood, the most you are able to do is replace the seal. If the hood itself is broken or cracked, then it needs to be replaced.
To replace the seal, you just buy a compatible one, remove the hood, install the new seal, and put the hood back in place. You should also redo the caulking for extra protection.
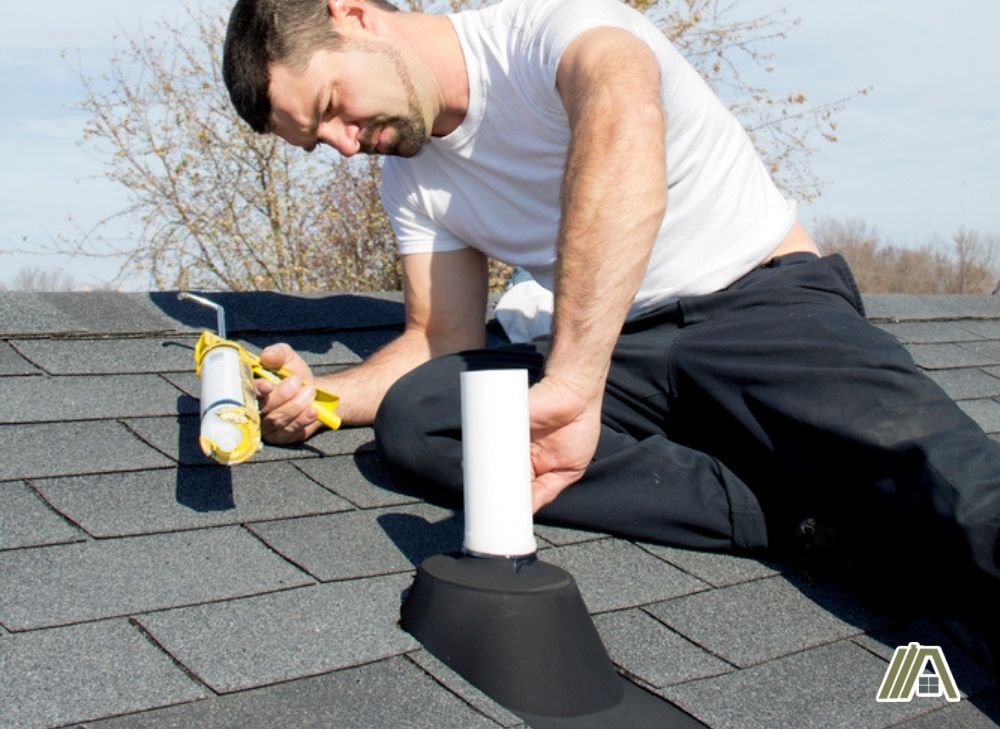
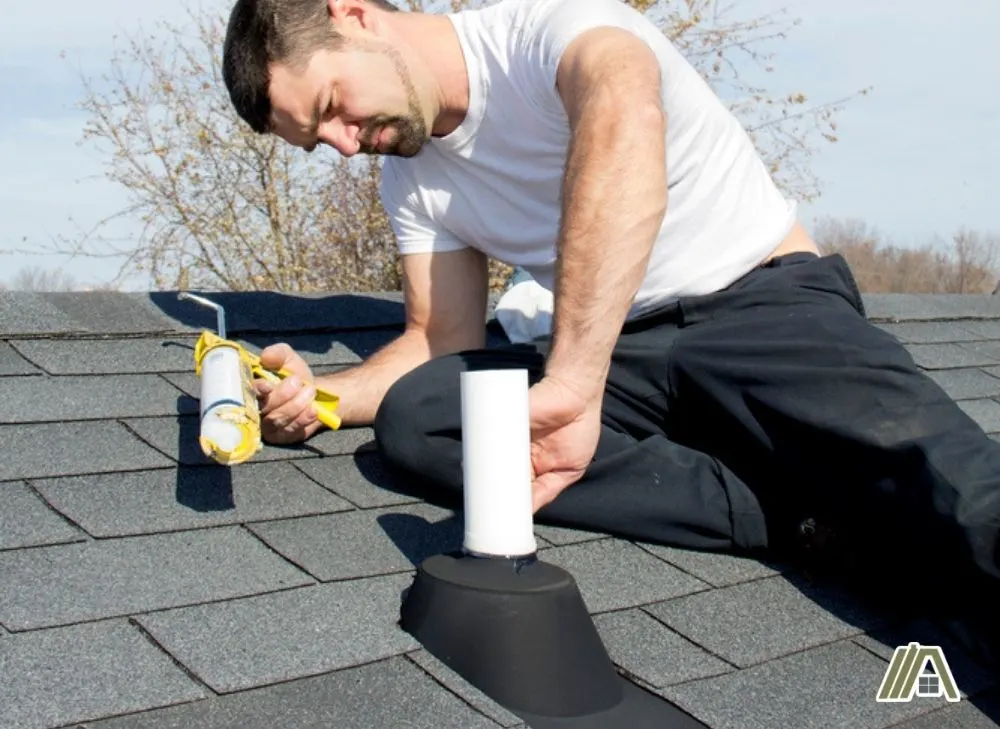
Replacing Vent Hoods
Replacing your vent hood is relatively simple as long as you know how. Before starting, however, it is important to remember ladder safety, as you will likely be working on the roof.
Here is a list of what you will need:
- Hammer
- New vent cover
- Caulk and caulk gun (amazon link)
- Screwdriver or power drill (amazon link)
")
Method:
- First, you will need to remove the shingles that are on top of the vent cover so that you can have access to it.
- You will then remove the old vent hood and install the new one exactly where the old one was. You may also need to unscrew the cover from the vent duct, and you can do this from inside the attic.
- To install the vent cover, you will need to secure it to the roof with nails, caulk, and possibly screws, if the cover connects directly to the duct.
- To finish, you will want to apply caulk to the nails. This helps prevent leakage and corrosion.
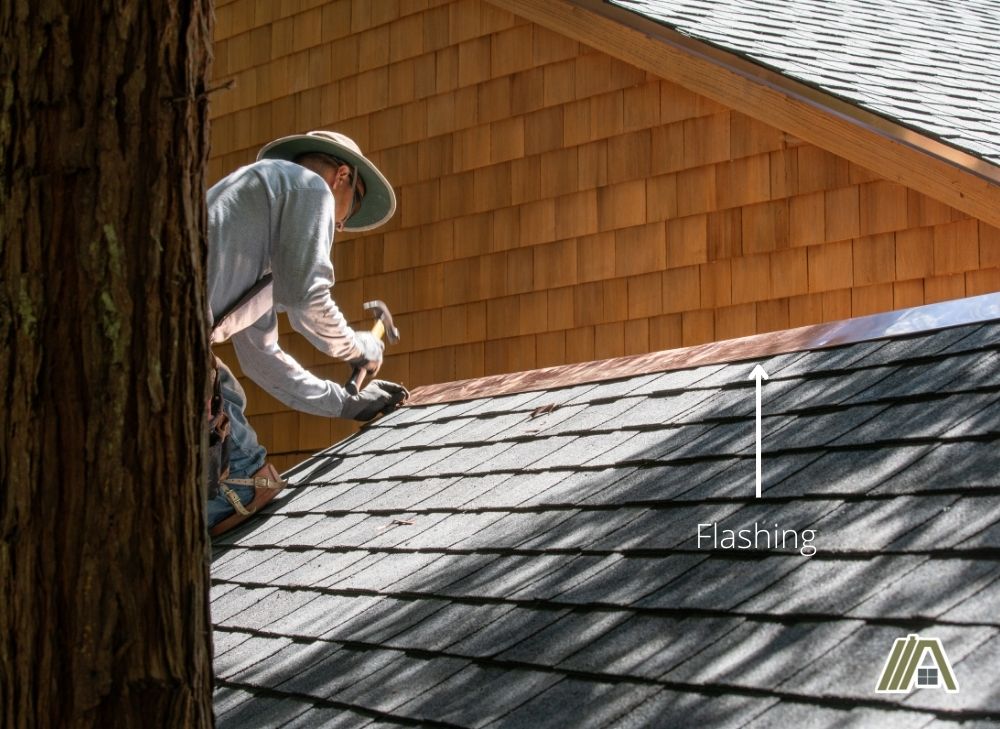
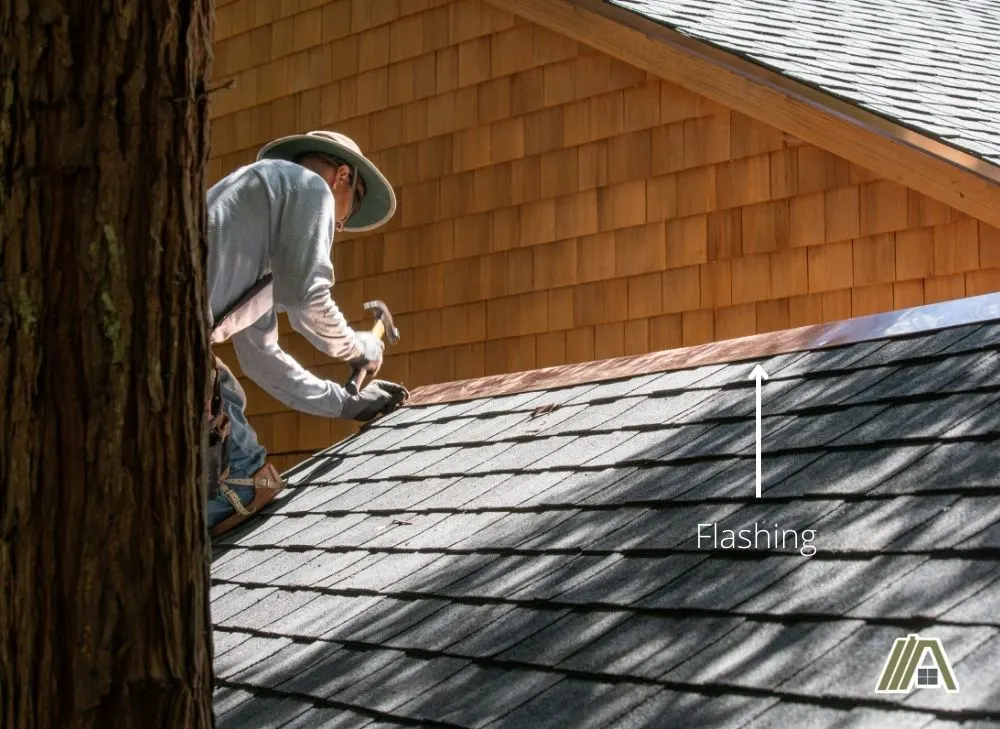
Problems With Flashing Can Allow Rain Into Ducts
Oftentimes, rain is able to enter vent ducts due to issues with flashing.
Flashing is a thin shield on the roof that stops water from going through cracks or crevices and into the house. It does this by redirecting water away from vents and other entrances.
If there is a problem with the flashing, there is a possibility that it could cause the bathroom fan to drip.
For instance, if there is damage to the flashing by the vent hood, a crevice could form that allows rain to seep through into the vents. It may even funnel water to the vent!
The rainwater would then travel down the ducts and out through the bathroom fan’s internal vent.
Causes of Flashing Problems
Flashing typically needs to be replaced over time because it gets worn down by environmental factors.
Flashing is susceptible to warping, either due to weather changes or even the roof membrane shrinking (flashing is stalled beneath roofing tiles).
Since flashing is made of metal, it will rust over time. When it rusts, flashing is not able to protect against weather, including rain.
It is recommended that you check your flashing at least once a year to make sure that it is still secure and functional. Faulty flashing may have holes, cracks, or rust and will need to be repaired.
In addition, if there is damage to the roof tiles around parts of your flashing, that is typically a sign that your flashing needs to be replaced.
Repairing Flashing
Depending on how damaged the flashing is, there are a couple of ways to repair it.
If your flashing is in relatively good shape but has a small hole, you could plug it. To do this, you need:
- Rooftop cement
- A wire brush or sandpaper
- A patch of the same material as your flashing
Method:
- First, you want to roughen the area around the hole using either sandpaper or a wire brush.
- Clean up all the loose dust and dirt.
- Next, you want to attach the patch using cement. You want your flashing patch to be bigger than the hole you are fixing.
- After attaching the patch, you will secure it with more cement.
Replacing Flashing
Rusted or badly damaged flashing needs to be replaced. This is more advanced and, therefore, it is recommended to hire a contractor to help. However, you can DIY it if you know what you are doing.
The materials needed are relatively similar:
- Roofing nails
- New flashing of the same material
- Caulk and caulk gun
- Hammer
- Crowbar
Method:
- You want first to remove the shingles on top of the flashing you need to replace.
- Next, you need to take out the nails holding down the old flashing and remove the damaged flashing.
- Put the new flashing exactly where the old flashing was and nail it down with new nails.
- Then caulk the part of the flashing that is vertical.
Broken Backdraft Dampers Contribute to Leaking
The amount of water leaking into the ducts and dripping out the vent can indicate possibly more than one issue with your bathroom vent. Typically, rain leaking into the vent is caused by damage to the vent hood or flashing.
However, having a broken backdraft damper can increase the amount of water getting in. Therefore, if you are experiencing a lot of water coming in, you should inspect not only the flashing or hood but also the backdraft damper.
A broken backdraft damper alone will likely not be the cause of a leaking duct (but it can have other negative effects like noise or cold drafts). So, it shouldn’t be your first priority when fixing the leak from your bathroom fan.
Typically, if your flashing and hood are functional, then the broken damper should not be letting in a lot of water.
Is It Broken?
While it is possible that your backdraft damper is broken and needs to be replaced, it is also likely that it just needs a little repair.
For one, the flaps on the damper could just be stuck open. This is oftentimes caused by debris sticking and keeping the flaps from closing. You should first check and try to clean out the exterior damper, which is located where the vent leaves your home.
While less common, debris could stick to the interior damper. You could also attempt to clean this one, which is in your bathroom behind the fan.
It is also possible that the seal needs to be replaced. You can usually buy replacement seals wherever backdraft dampers are sold. It may also just be a caulking issue, which is easily repaired.

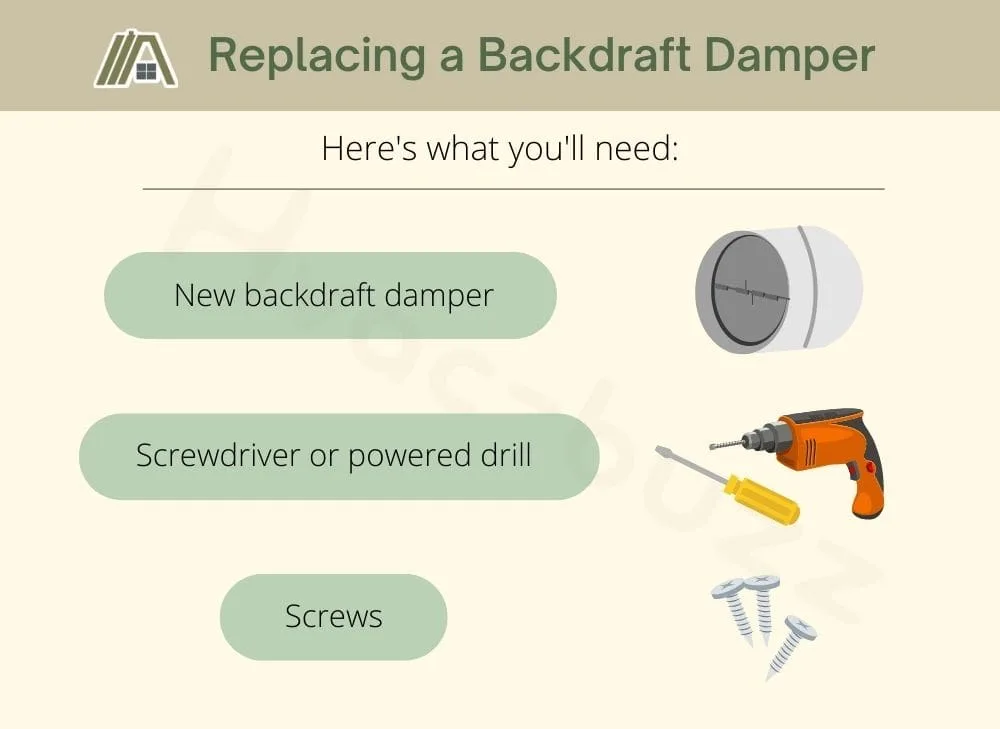
Replacing a Backdraft Damper
Replacing a backdraft damper is extremely simple and requires surprisingly little.
You’ll need:
- Your new backdraft damper
- Screwdriver or powered drill
- Screws
Method:
- You will first want to remove your current, faulty backdraft damper by unscrewing it from the fan duct.
- Then put your new damper where the old one was. It’s important to have the correct orientation on your damper, or else it will not work and can cause more issues. You want to allow air to exit the vent duct and prevent air from coming back in. If you have the correct orientation, then the damper will fit much easier in the duct than if it was wrong.
- You will then want to screw the damper into place to secure it to the ducting. Afterward, it should be functioning and ready to use.
To read more about why bathroom fans drip and how to stop this, you can check out Why is My Bathroom Fan Dripping?
Sources
https://modernize.com/homeowner-resources/roofing/how-to-check-and-maintain-roof-flashing
https://bentonroofing.com/6-common-issues-that-cause-damage-to-roof-flashing/
https://www.hometips.com/repair-fix/roof-chimney-flashing.html
https://www.familyhandyman.com/article/common-bath-fan-problems/